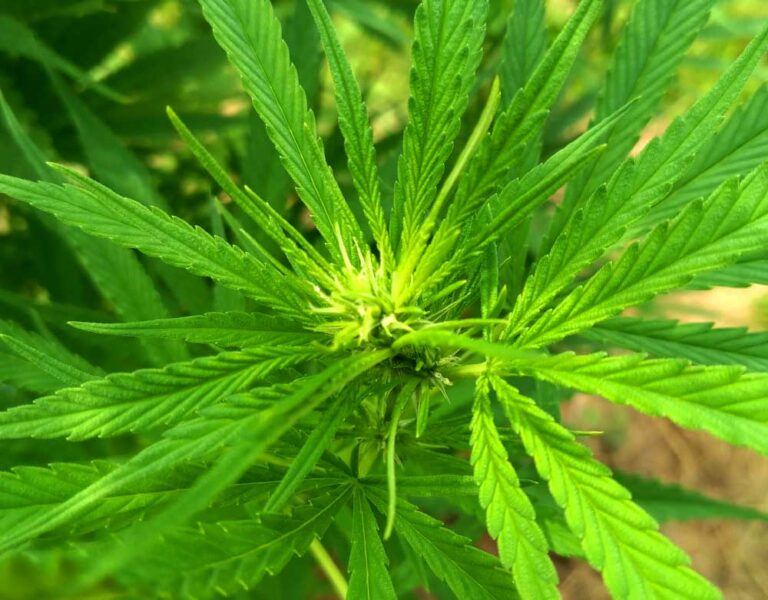
Hemp Growing Guide (Part 4: Potting Up)
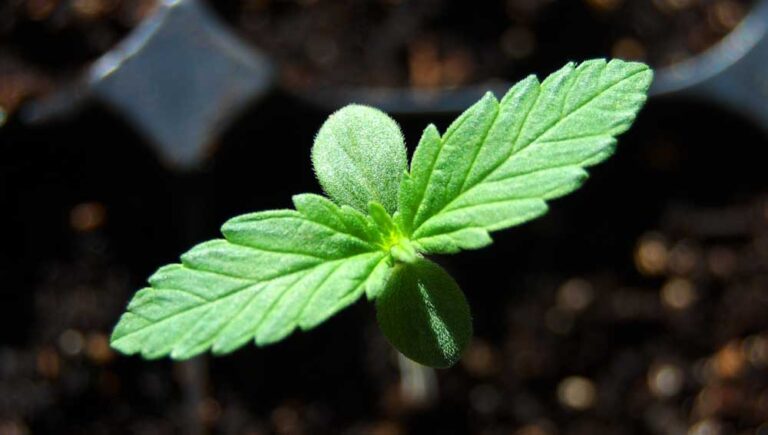
Alright hemp growers, by now the seedlings you planted in Part 3 of our hemp growing guide have probably started to outgrow their little seedling trays like mine have. After 2 weeks or so they’re generally ready for a little more space.
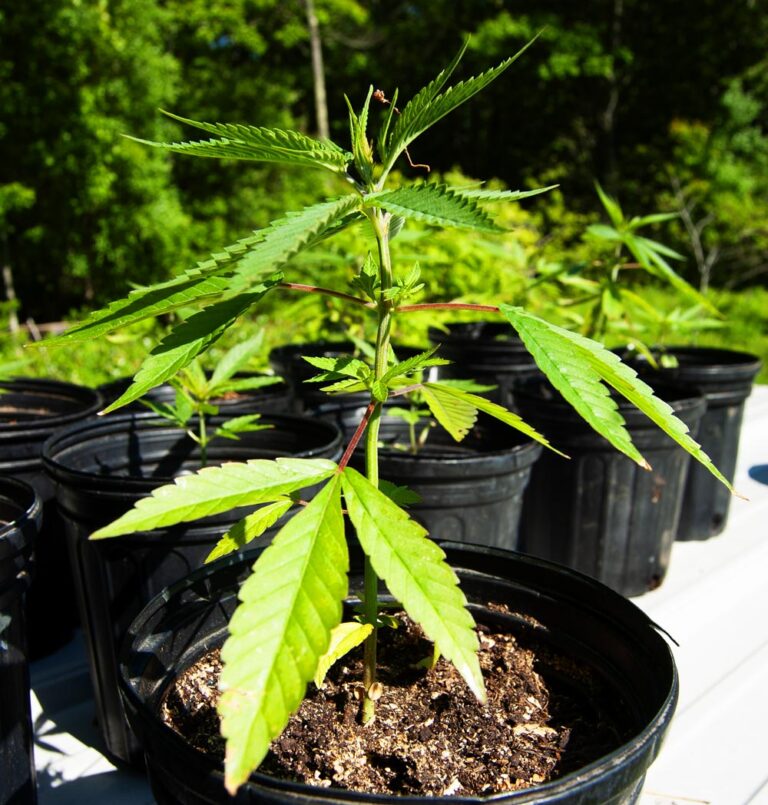
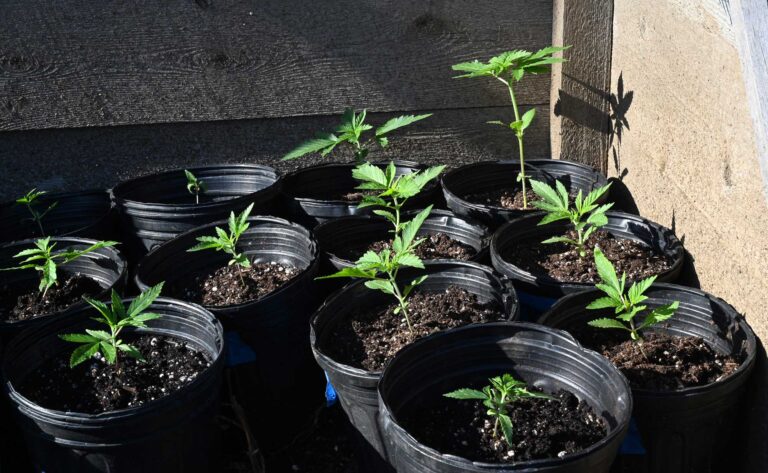
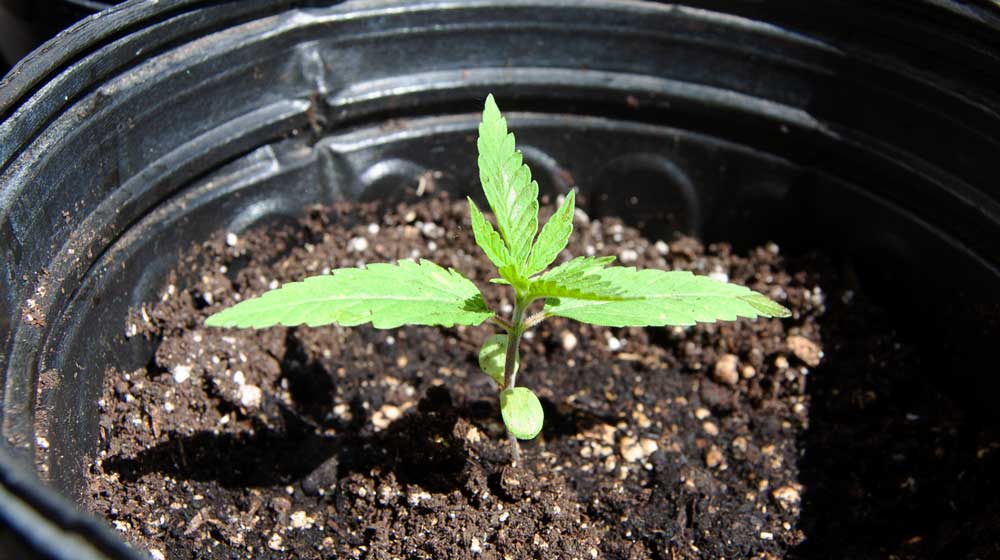
Although you can transplant directly from the seedling tray into the ground at this point, I typically put them in a 1 gallon nursery pot and let them mature a bit more first (plus it’s often still April or early May when my seedlings are ready to pot up, which is still too early for transplanting outside here in Maine).
Don’t be intimidated by the transplanting process: while it’s a bit of a shock to the seedlings, if you do it carefully they’ll recover very quickly (1-2 days). You’ll want a gallon-sized nursery pot for each seedling and enough potting soil to fill all the pots. I prefer to transplant at dusk because that gives the plant a night to “settle in” a tad before beginning a new workday of photosynthesis and transpiration.
It’s a good idea to water your seedlings the day before transplanting, if the soil is too dry (or too wet) it will cause the soil to fall away from the tender roots of the seedling when you remove it from the tray. Not a deal-breaker but the less you disturb the roots during transplanting the better. Ideally the soil should be lightly moist when you start.
Your potting soil should also be moist but not saturated. I like to pour a bunch in a pail, add a little water at a time, and mix by hand until the soil feels cool and damp but not wet or clumpy. Think of a sponge that you’ve soaked and then wrung out.
Don’t transplant in the sun or wind if you can avoid it–exposed seedling roots can be quite vulnerable to drying out.
Here’s a step-by-step breakdown of the potting-up process:
- Fill your nursery pots about 1/4 -1/3 full of potting soil. Don’t pack it, just fill it loosely.
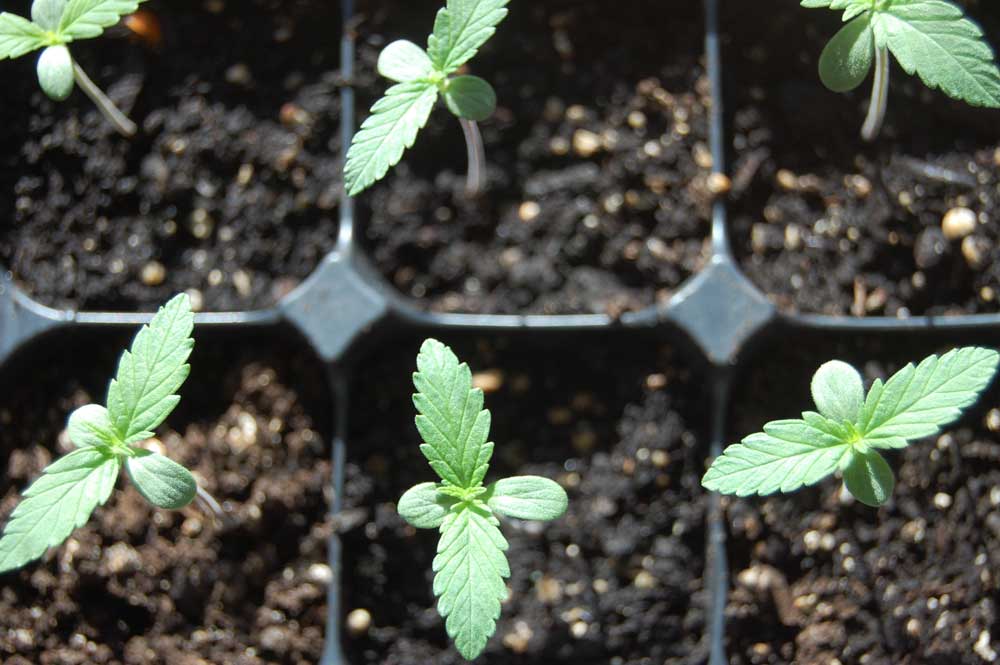
- Hold the seedling tray in one hand and carefully remove one seedling at a time; I like to poke my finger gently up through the drain hole in the bottom of the container and carefully push the soil and root mass up until it’s loose from the tray. Then I invert the tray and gently coax the seedling all the way out. If everything goes well, the seedling should come out easily with all or most of the soil and roots holding together in a little block. If some soil falls away don’t sweat it.
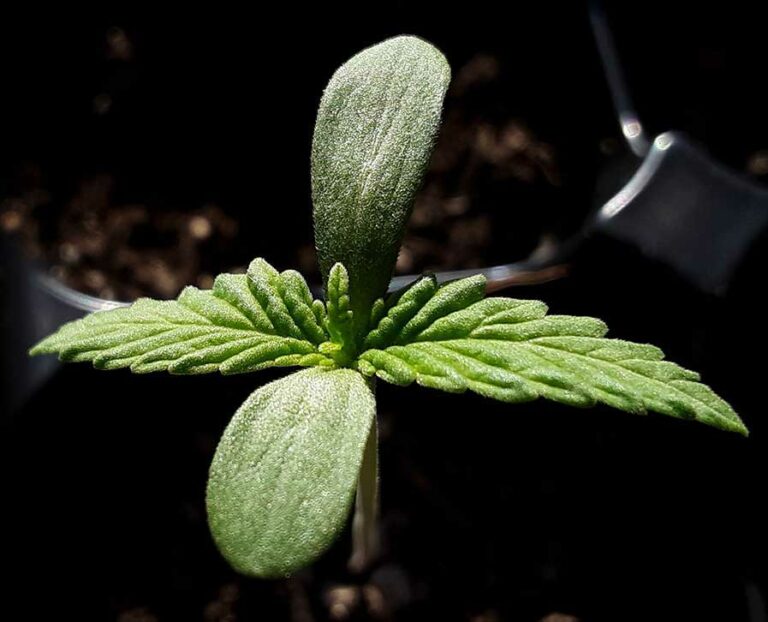
- Take the seedling and gently place it in the center of one of the partially-filled nursery pots. Holding the seedling upright and in position with one hand, add handfulls (or scoops if you prefer) of potting soil to the pot until you’ve filled it. Fill to the cotelydons (those small “seed leaves” that emerged during germination). If your seedlings got “leggy” and tall because of low light, you can bury them right up to the first leaves.
- Do the same for each of the other seedlings.
- Now lightly water the seedlings. Since you already pre-moistened the potting soil, you don’t need to go whole hog here–just a moderate watering is all they need.
- Let them rest somewhere dark and quiet for the night. The next day don’t put them in direct sun all day long–maybe just a few hours of sun in the late afternoon/early evening or somewhere with partial shade. They’re recovering from the transplant operation so treat them gently. In my experience they’re right back on their feet within a day or two.
That’s it! You’re done. After a day or two adjusting to their new home the seedlings will start developing more roots. You won’t necessarily see a lot of obvious growth above ground at first but then after about a week they should start taking off. That’s a good time to add a little fertilizer (unless you’re using a pre-charged “supersoil” like Stonington Blend, in which case the nutrients the seedling needs are already present). But we’ll cover that in more detail in the next installment of the Hemp Growing Guide.

One word of caution–don’t go overboard watering at this stage. You’ve got a very small plant with a relatively small root mass that doesn’t use a lot of water yet. If you water heavily the soil may never dry out and the roots will not get the air they need to thrive. At some point you’ll likely have root problems that could stunt or even kill the plant. Remember, hemp doesn’t like wet feet! So at first water lightly in a circle around the “drip ring” of the seedling, but if possible keep the soil right where the stem enters relatively dry.
Good work coming this far–now we’re moving into the vegetative stage, where the hemp seedling will grow rapidly into a mature plant and gain bulk and size quickly through the early and mid-summer.
See you again in another week when we’ll discuss “care and feeding” of your little hemplet, followed by a final transplant into the ground (or large container if you’re going that route). Until then, happy growing!