Hemp Growing Guide (Part 5: Caring for Your Plant)
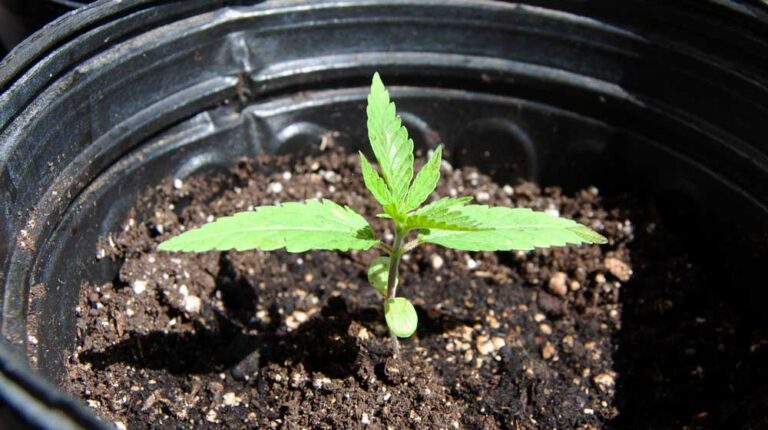
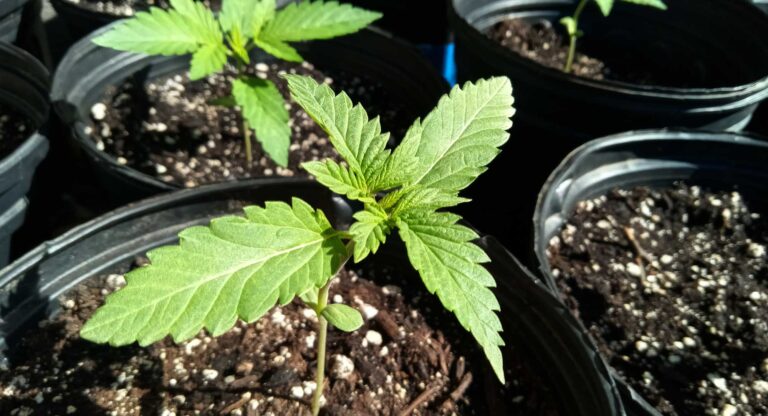
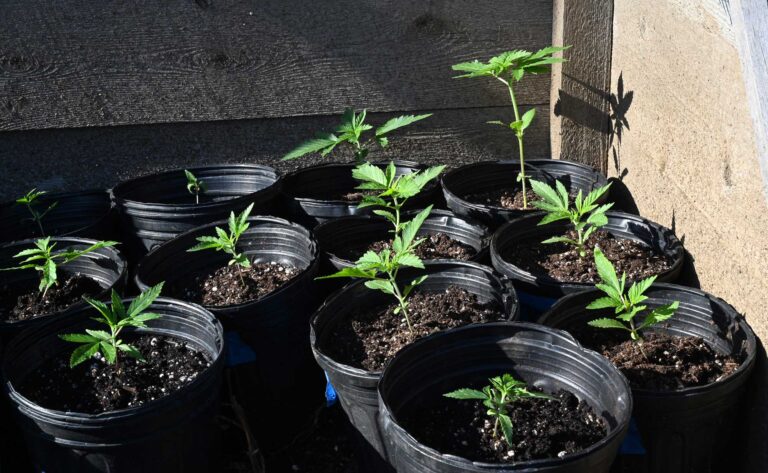
Now that you’ve planted and germinated your seeds (see part 2 and part 3), then potted your seedling up into a bigger pot (see part 4), it’s time to focus on caring for your hemp plant through the vegetative phase of growth. This will take you through most of the summer until the flowering phase begins in August as the nights get longer.
The biggest mistake beginner growers make is “helicopter-parenting” their plant, obsessively watering and feeding and panicking at any sign of trouble. Relax! Hemp is a tough and resilient plant, you just have to give it what it needs and no more. Let’s go through the basics.
Water
Over-watering is common and even experienced growers do this sometimes. It can be tricky because a plant that’s overwatered and drooping looks similar to a thirsty plant that’s drooping. Hemp does not like “wet feet” as they say, meaning the root zone should not be kept too wet for extended periods of time. Instead, you want to let the soil begin to dry between waterings so the roots can “breathe”–they need air as well as water. This typically means watering every few days but there’s no standard formula because it depends on how hot it is, how humid, windy, size of the plant, etc.
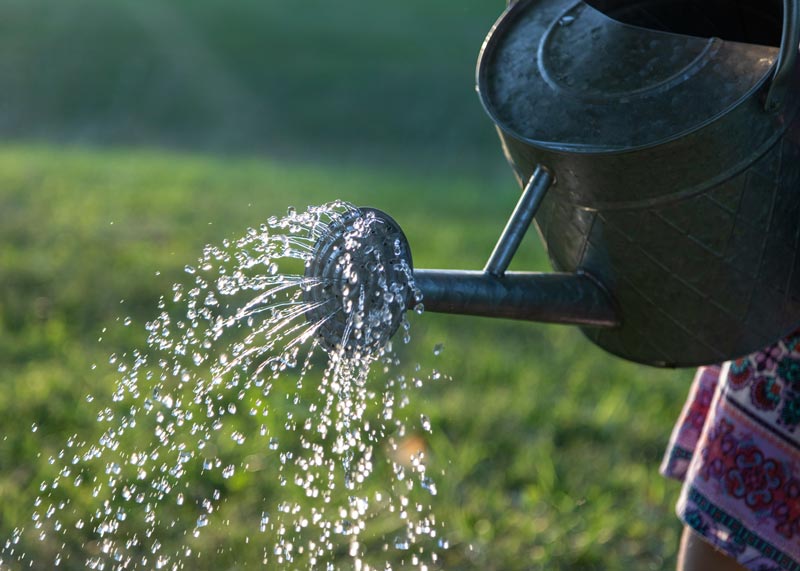
The best approach is to monitor the soil in the container and when it starts to get too dry it’s time for another watering. One method is to stick your finger carefully into the top inch or so of soil and if it’s dry go ahead and water. Another method is to pick up your pot and feel its weight–when the soil is dry it will be noticeably lighter than when the soil is damp. Some people actually use a moisture meter to test the soil but I don’t think that’s absolutely necessary. You’ll get the feel for it pretty quickly just by paying attention. Just let the soil begin drying out after each watering.
How much water should you give? The goal is to moisten the soil completey throughout the container–not just the very top layer. A good technique is to water in stages…add a little water and let it soak in for a few minutes, then add a bit more, until the pot feels heavy. That’s your sign that the soil has absorbed a lot of moisture.
Another handy technique is to place the pot on a shallow bowl or plate when you water so that any water that runs out the bottom will get wicked back up into the soil (assuming your pot has holes in the bottom, which it most definitely should!). Don’t leave your pot sitting in water all day, though–drain the excess after an hour or two if it hasn’t all been soaked up.
Sometimes if you go too long without watering the soil can become “hydrophopic” or resistant to absorbing water. This seems to be especially true of potting soils that contain peat moss. When this happens you can water your plant and not realize that most of the water is just running out the bottom of the pot and not getting absorbed by the soil.
One solution in this situation is to place your pot in a larger container filled with water. A plant whose soil has gone hydrophobic will actually float in the water–you can either leave it floating there for 30-45 minutes and it will gradually soak up water or you can submerge the pot until it absorbs enough water to stop floating. Don’t leave it submerged for too long or the roots will begin to drown. The important thing is that you get the entire container of soil damp which will stop the hydrophobia.
Light
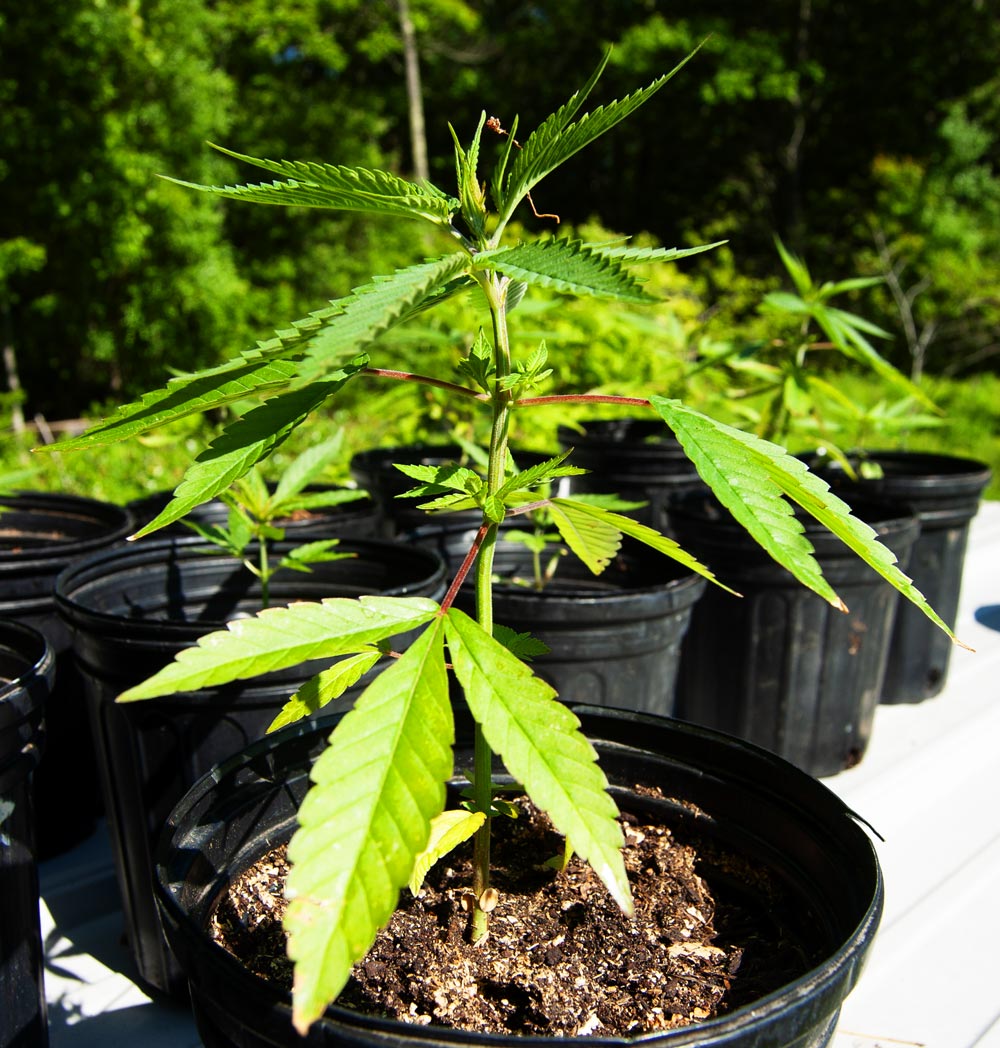
Hemp plants, like tomatoes, soak up all the sun they can get. So put them in the sunniest spot you have available. Direct sun is best but partial shade can work, too. A hemp plant that only gets a couple hours of sun per day isn’t going to thrive.

Nutrients
I’m a big proponent of organic growing methods so that’s what we’ll discuss here. Hemp wants a fair bit of nitrogen during the vegetative phase, along with phosphorus and potassium, as well as micronutrients like calcium and magnesium. You can provide all of this with a good balanced organic fertilizer like Coast of Maine’s Stonington Plant Food or a similar product. Just follow the directions on the product for application rate and frequency. Don’t overdo it…give the plant what it needs and no more.
Adding a little finished compost along with the fertilizer will help make it available to your plant sooner. Sprinkle both into your container and then gently mix into the top inch or two of soil, followed by a light watering. Depending on the size of your container and plant, this will last anywhere from 2-4 weeks before it’s time for another application.
Your leaves should be a healthy rich green color and the plant should appear “vibrant” when all is well…you’ll know a healthy hemp plant when you see it. On the other hand, yellow leaves often mean not enough nitrogen. If that’s the case you can apply a little more fertilizer but don’t go overboard…more is not always better.
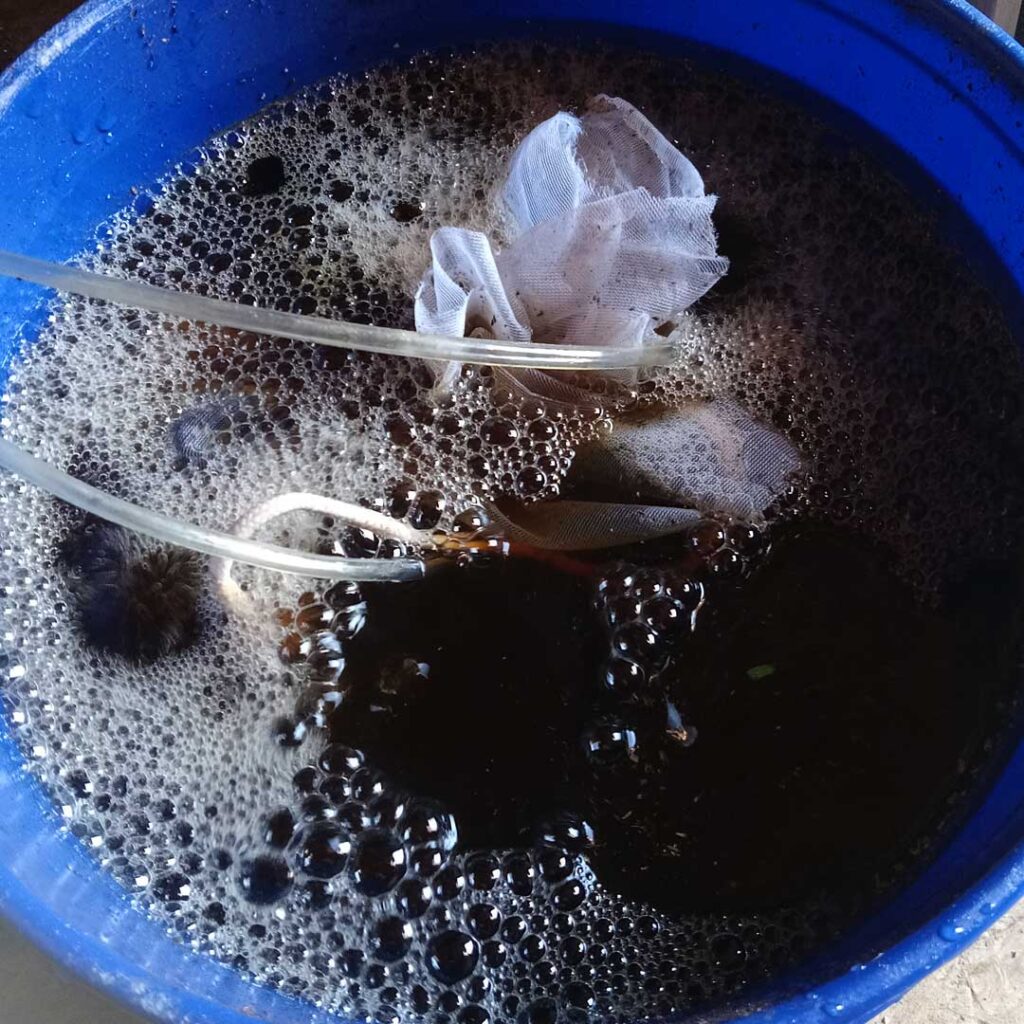
If you really want to go the extra mile, you can make compost tea by steeping finished compost in water while aerating the water (a 5 gallon bucket works well for this). After 24 hours you’ll have a rich solution filled with microbes and nutrients that your plant will love. If you add a few tablespoons of molasses when you start the tea, that will really get the beneficial microbes flourishing. Sprinkle this on your hemp plant’s foliage as well as the soil. I like to add some worm castings and alfalfa meal to the tea as well, but that’s not essential.
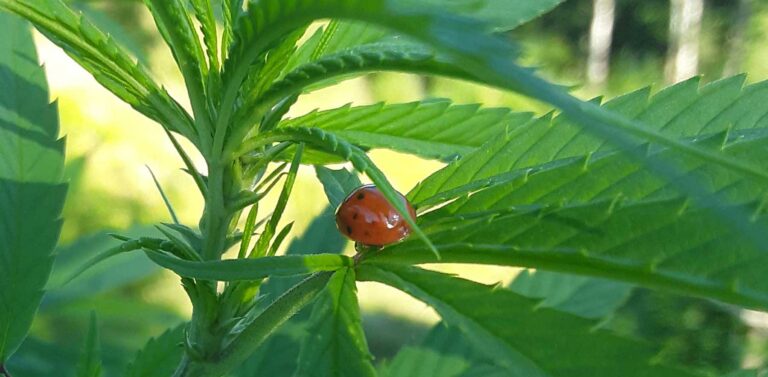
Pests
In my experience, the best defense against pests is a healthy, resilient plant. Focus on that and you shouldn’t have to deal much with pests. But sometimes environmental conditions can be pretty challenging: like if you have days and days of rain and drizzle, powdery mildew might start to show up on the leaves (add a small amount of potassium bicarbonate to water and spray on the leaves, this will increase the pH of the leaf surface moisture rendering it inhospitable to powdery mildew spores).
A few insects are no big deal but if you get an infestation spraying with a Neem oil solution can often solve the issue. While there are all kinds of commercial pesticides and mildewcides available, these can be hazardous and in my view are best avoided.
Establishing a Foundation for the Flowering Stage
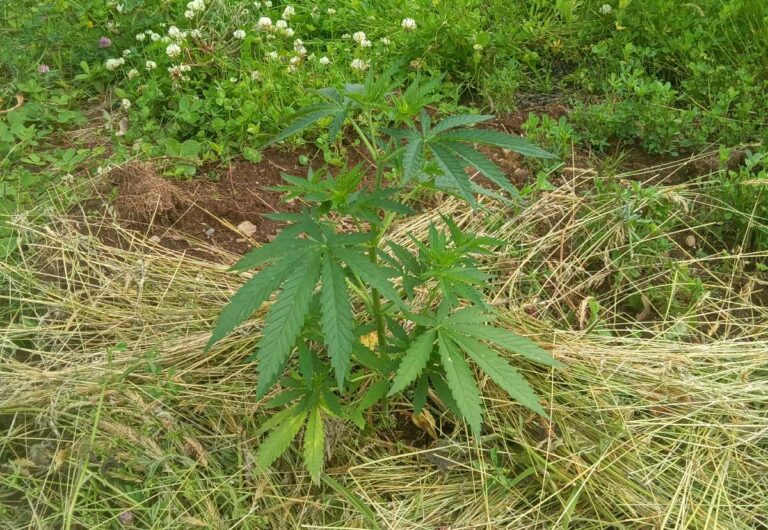
In many ways the function of hemp’s vegetative stage is to create a solid foundation for flowering–you want a strong healthy plant with plenty of foliage and branches for flowers to grow in the fall. Keep a close eye on your plant through the summer and if you see an issue begin to develop, like yellowing leaves starting on the lower branches for example, take steps to address it right away before things get out of hand. Ideally you want your plant in top form heading into the flowering season.
Next we’ll talk about transplanting your potted plant into the ground (or a bigger container if you prefer), which I’m about to do here with my seedlings. If you have the space and decent soil (you can always dig a hole and backfill with your own soil mix if not), growing in the ground is less work in my experience and allows the plant to grow bigger with more flowers to harvest in the fall (can’t argue with that, right?).
We’ll also talk a little about topping, pruning, and other techniques for optimizing your harvest.
Until then, enjoy watching your hemp plant get visibly bigger each week–the rate of growth can be quite remarkable!