Hemp Growing Guide (Part 2: Planting)
It’s the first week of May, the perfect time for planting hemp seeds. Last week we talked about gathering supplies and deciding on a location for your plants to grow–and of course getting your hands on some seeds. Hopefully you have those now but if not don’t worry, you’ve still got several weeks left to plant this year.
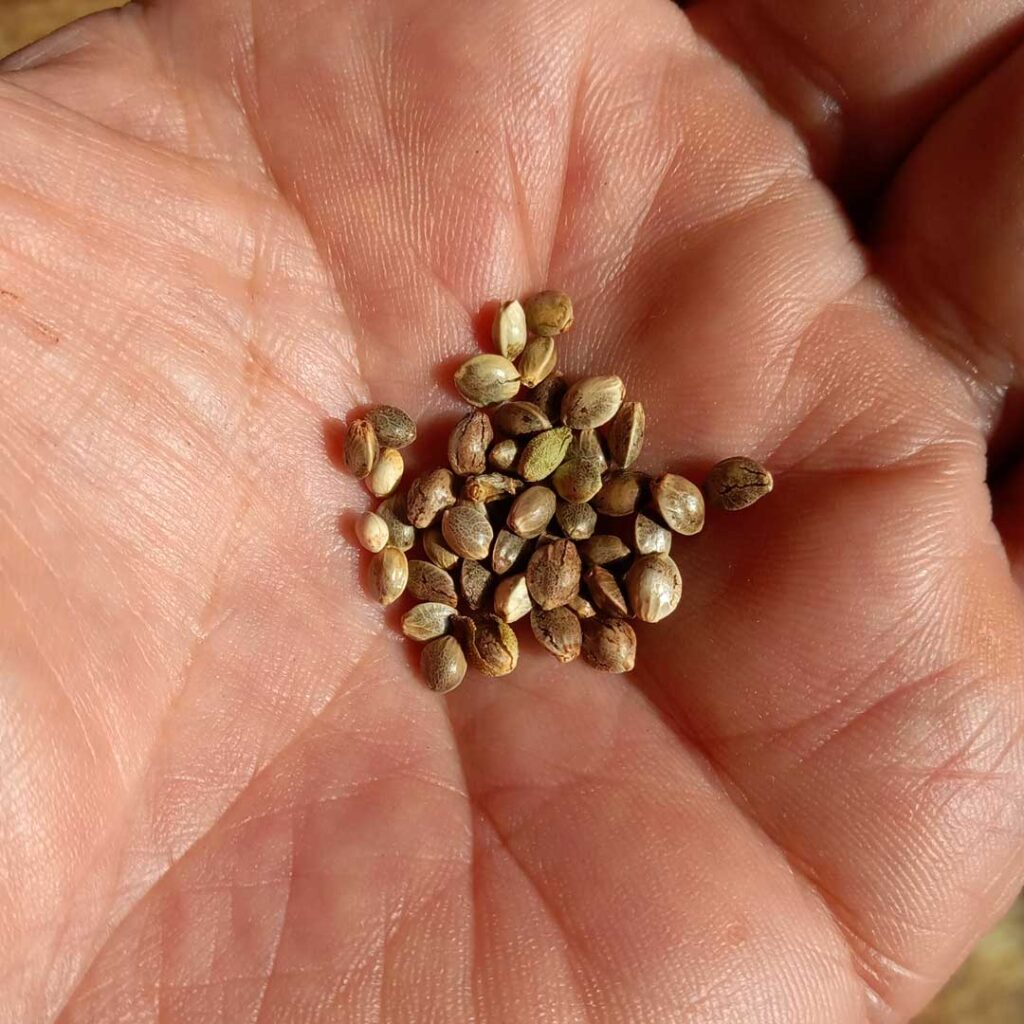
Seeds
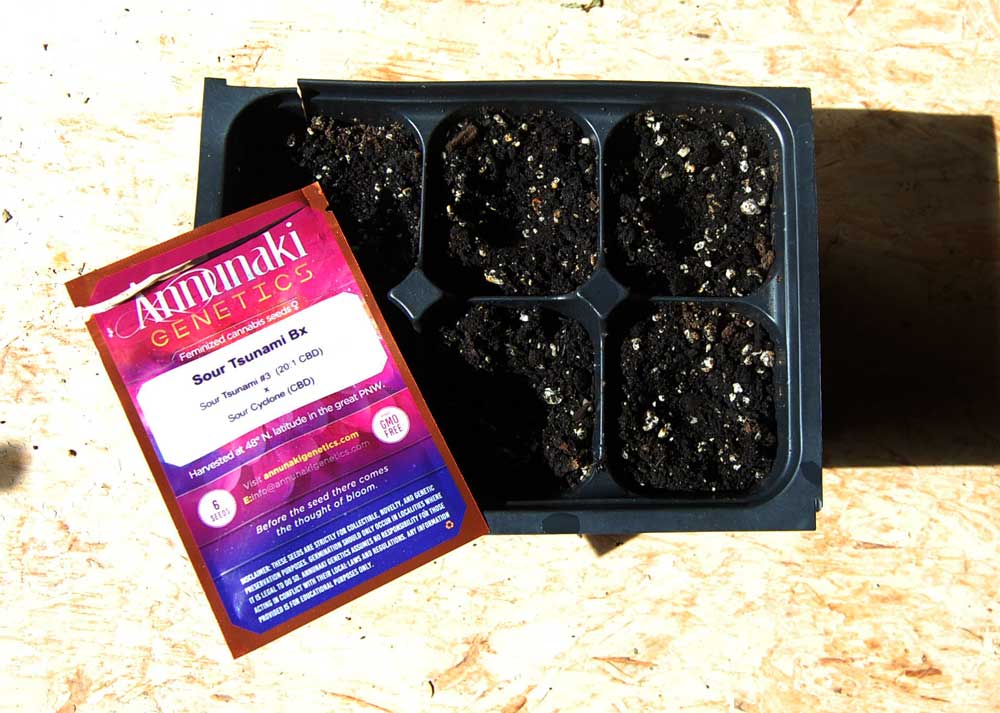
For this tutorial I’m going to grow a hemp variety called “Sour Tsunami Bx” which is a completely random selection–this was a free pack of seeds that was included in a recent commercial order. These are feminized seeds, which means there shouldn’t be any males showing up. Regular seeds will produce at least some males, which you will likely be getting rid of (unless you plan on breeding!). I’m going to plant 6 of the 10 seeds in the pack.
Here in Maine it’s dicey to start plants in early May as we could get frost and snow. So I always start mine indoors first, waiting till the threat of freezing weather passes before moving them outside. That’s usually around Memorial Day weekend.
Start with a Soak
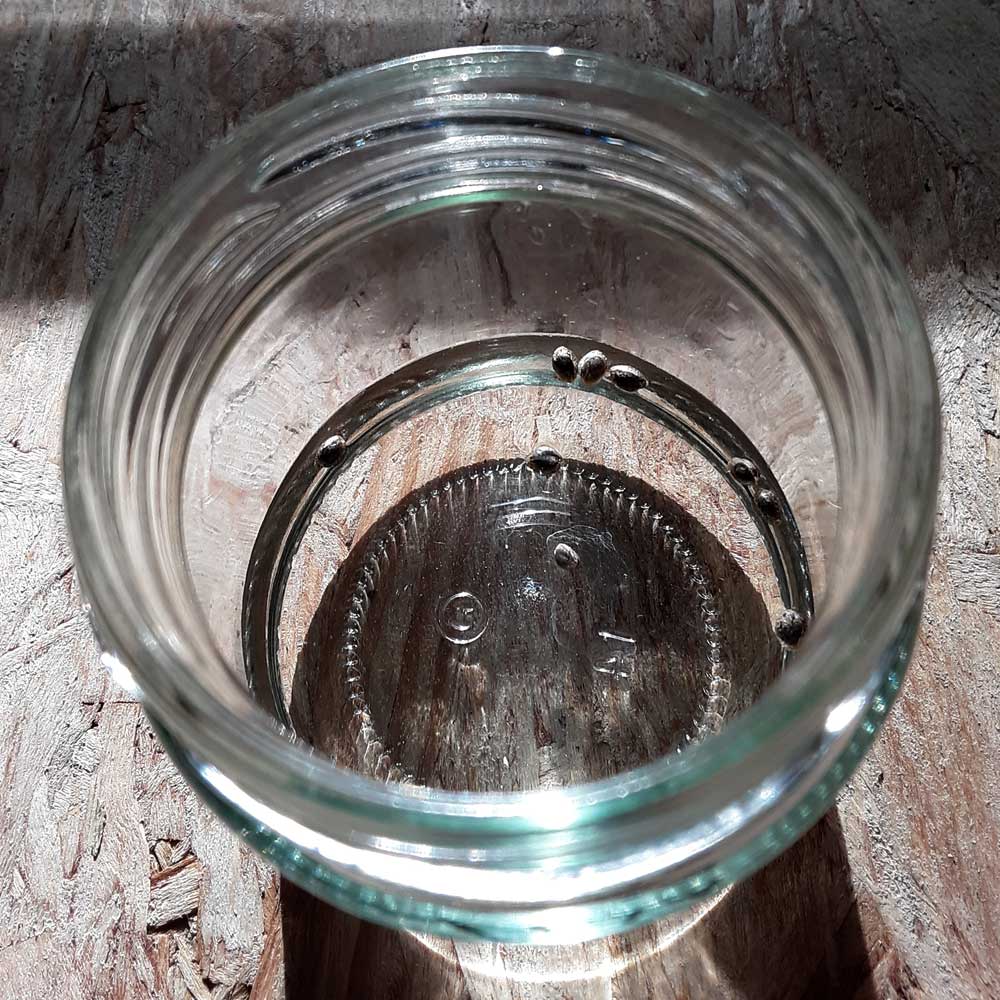
It’s a good idea to soak your seeds overnight in water before planting–this will begin hydrating them and kickstart the germination process. Anywhere from 12-24 hours is good but don’t go longer than that.
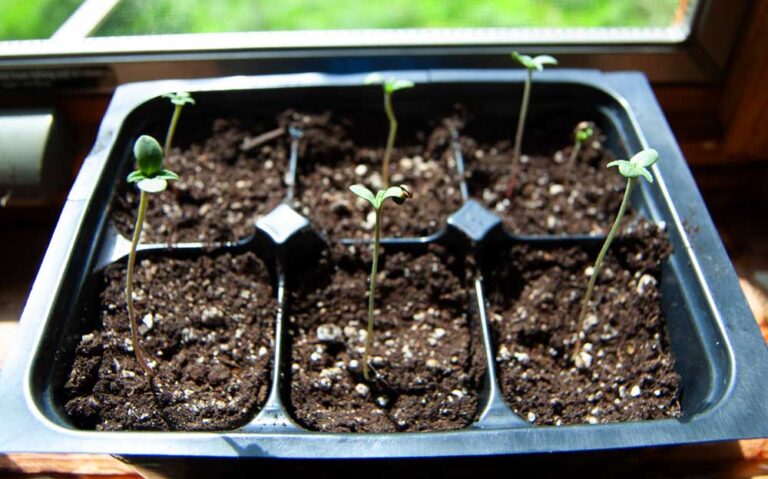
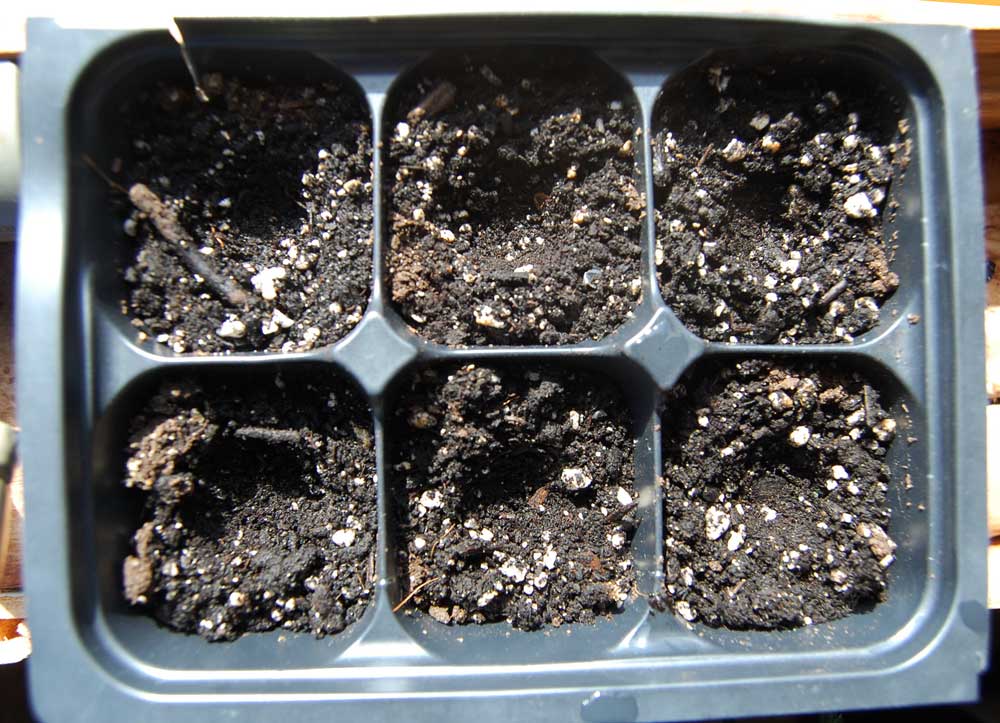
Prepping the Seedling Trays
While your seeds are soaking, have a look at the seedling mix or soil you’re going to plant them in. As I mentioned last time, I use Coast of Maine Stonington Grower’s Mix but you can use any organic potting soil you like.
You want the soil moist but not sopping wet. One way to achieve this is to mix some soil with a small amount of water in a bucket with your hand until it feels lightly moistened. Stop adding water before it gets muddy or starts clumping too much.
Now fill your seedling tray with the moistened soil. Don’t pack it in there, just fill it loosely full or pack it very lightly. Remember that seeds and plants need both air and water, so you don’t want your soil packed tight to the point where air molecules can’t access the roots.
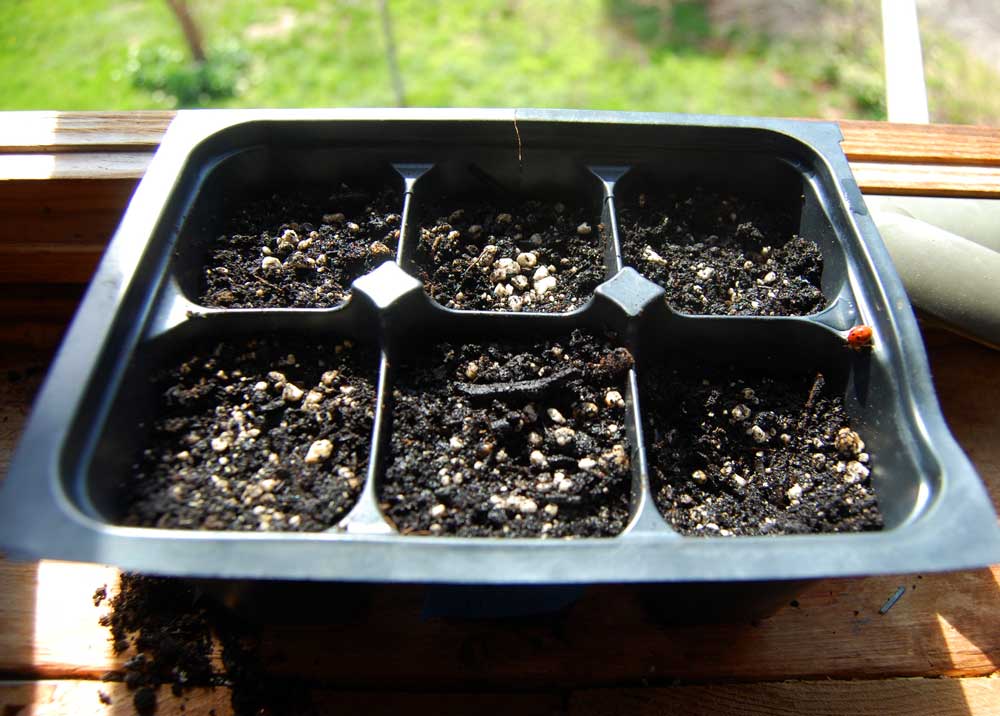
Sow Those Seeds
Ready for the big moment? I like to take the tip of my index finger and make a shallow depression in each cell of the seedling tray before placing a seed in each. Then cover the seed fully with soil. Don’t bury the seed deep–it really should be just an eight or a quarter inch below the surface. You can gently add a small amount of water after planting, but if you premoistened the soil it’s not really necessary.
Waiting for Germination
The job now is to keep the soil moist but not overly saturated until the seeds germinate–typically anywhere from 2-7 days, although it can sometimes take longer especially with older seeds. You may have heard all kinds of complicated advice about germinating seeds in paper towels, covering seedling trays with plastic wrap, and other such things. I never bothered with all that and frankly I think you’re better off just planting your seeds in soil and keeping them moist until they germinate. Warmth can certainly speed things along, although I don’t use heating mats or anything like that–just try to keep the seedling tray in a relatively warm place.
Be patient–I remember my first year growing a hemp plant I went and checked on the seedling trays first thing every morning like a boy at Christmas. It usually just takes a few days but don’t give up even if it’s been a week or more–some seeds just take longer, especially if they’re old or haven’t been properly stored.
It’s not a bad idea to plant a few more than you need since you don’t know for sure how many will germinate. You can always give the extras away. But if your seeds are fresh or they come from a reputable source the germination rate should be fairly high.
Don’t add any fertilizer or anything else at this point, just lightly water regularly to keep the soil moist. That’s crucial for germination.
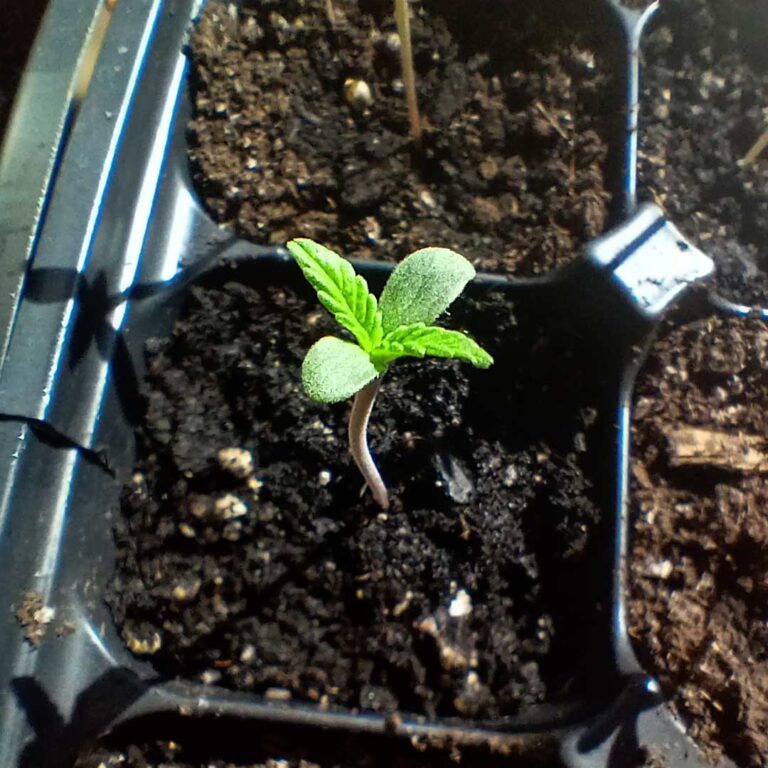
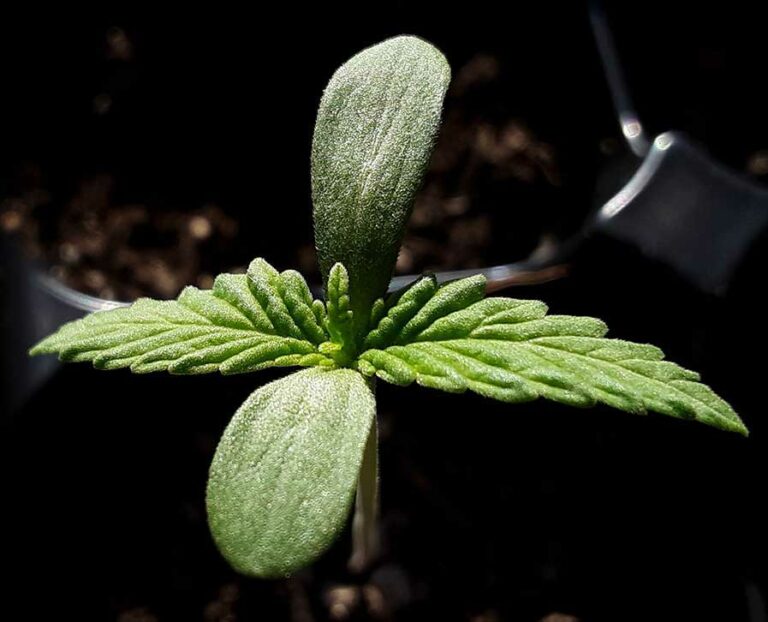
Eventually you’ll see a little shoot pop up out of the soil within a few days. Be sure to make plenty of light available as soon as that happens. A windowsill can work in a pinch but a grow light is really best at this stage to avoid having your seedlings stretch and become “leggy” from too little light.
They’re very delicate at this stage so handle the tray gently and be judicious with your watering…just enough to keep the soil lightly moist but not saturated. It’s easy to overwater seedlings and probably the single biggest mistake people make (including me!).
So go ahead and plant those seeds this week and let’s reconnect next week to talk about the next phase, nurturing the tender seedlings through their first week.
Happy planting!